How Can We Help?
How to create a workflow
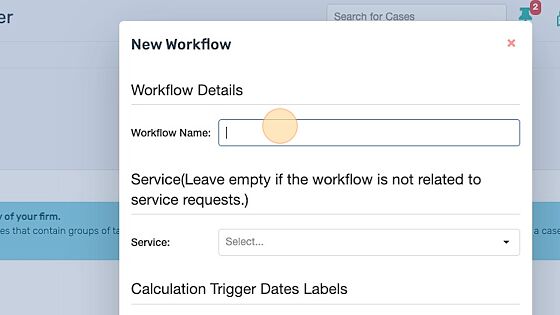
Tip! Give the workflow a descriptive name so you will be able to recognise it in the future. Common workflow names include New Client Intake Procedure, Trial Preparation Deadlines, Court Assigned Due Dates, etc. You may wind up having a lot of workflow templates saved in your account, so the more descriptive you can be naming them, the better off you will be.
1. Enter the “Workflow Name.
Tip! Trigger dates allow you to specify the names of the important dates you will be using in the workflow template. Then, when you add calendar events and tasks the workflow template, you can can specify whether they should be scheduled before or after the date.
2. Enter the “Trigger Date”.
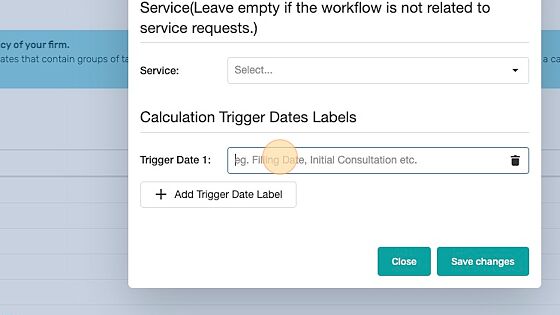
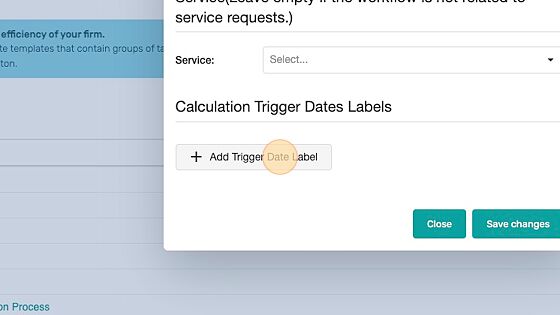
Tip! Clicking this allows you to add another trigger event. Workflows allow for 4 trigger events.
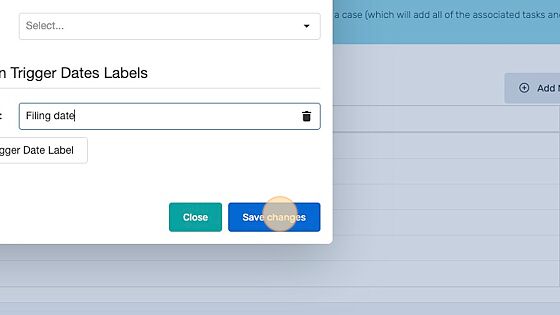
3. Click “Add Trigger Date Label”
4. Click “Save changes”
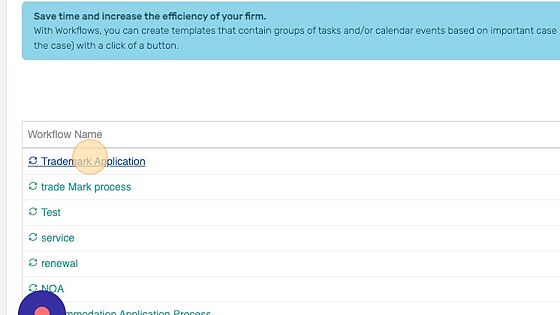
5. Click the name of the workflow.
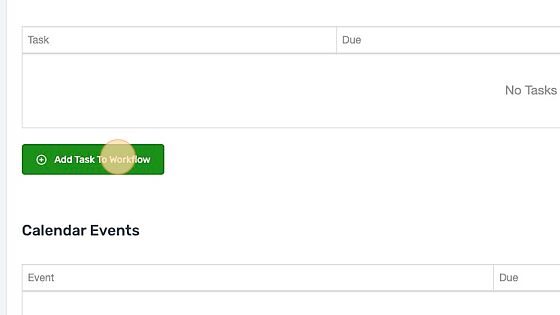
Adding Tasks to the Workflow Template
6. Click “Add Task To Workflow”
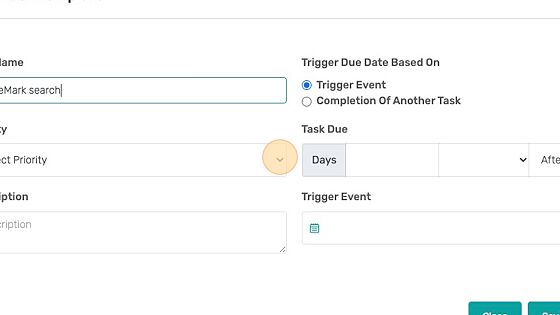
7. Enter the “Task Name”.
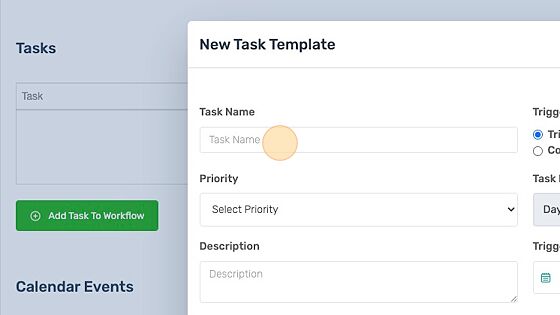
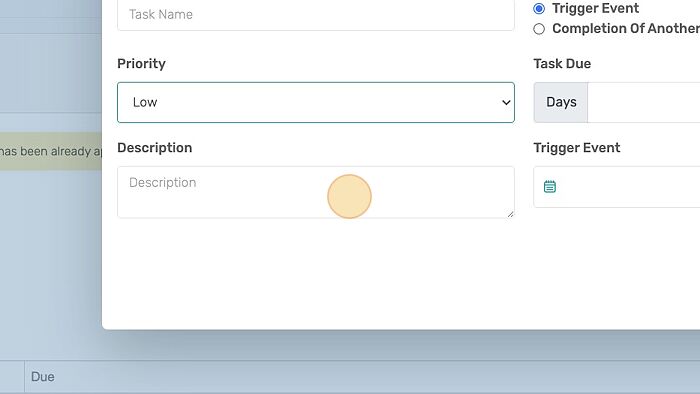
8. Select the priority level of the task.
9. Enter the “Description” of the task.
Calculate Due Date based on a Trigger Event, Completion of Another Task
Tip! When creating your workflow template, you have the ability to create tasks based on the completion of another task. Let’s say for example that you want to set up a task to check in the the courts 7 days after filing paperwork to ensure that everything has gone smoothly. You can create both tasks in your workflow template, however, the check in task will not be added to the system until the initial task for filing paperwork has been completed. To complete this, select “Completion of Another Task” when creating your second task and then the system will prompt you to select the name of the task that you would like this to be based on. If you would like the system to create the task as soon as the previous task is complete, enter “0” days in the Task Due area.
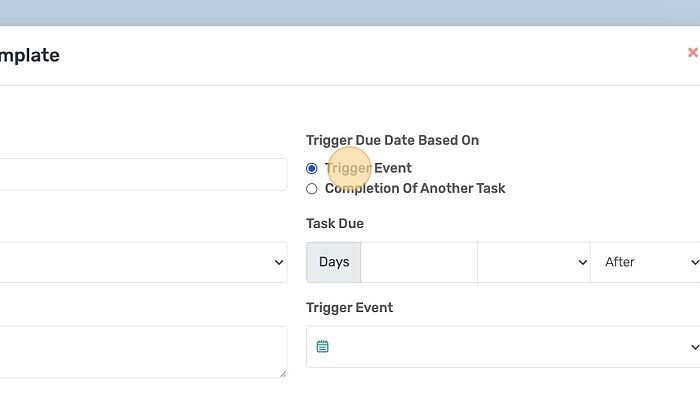
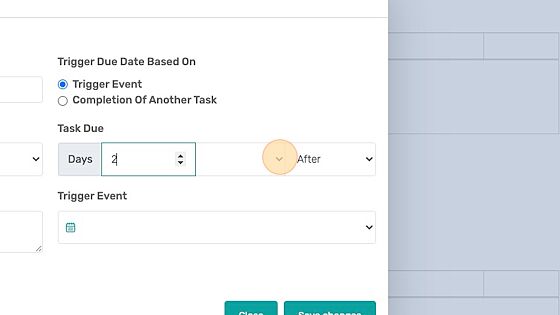
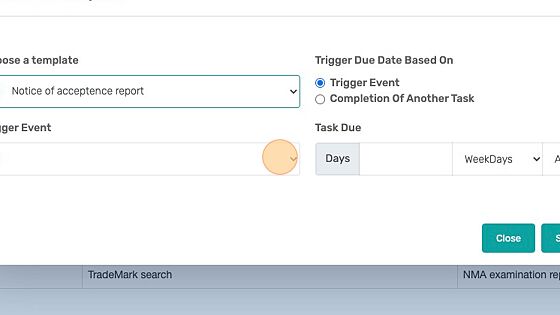
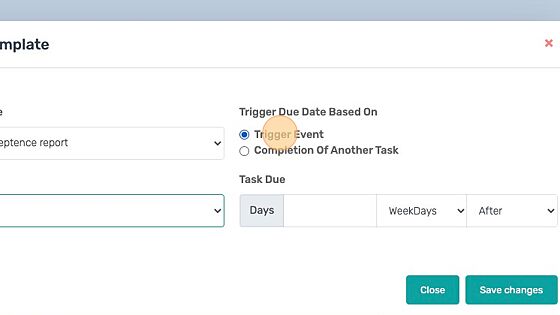
10. Select the “Trigger Event”. If you would like the task due to date to be automatically calculated when it’s applied to a case, select Trigger Event. To have a task be created after a previous task is completed select “Completion of Another Task”.
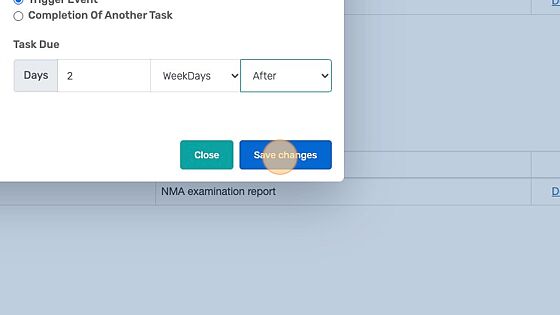
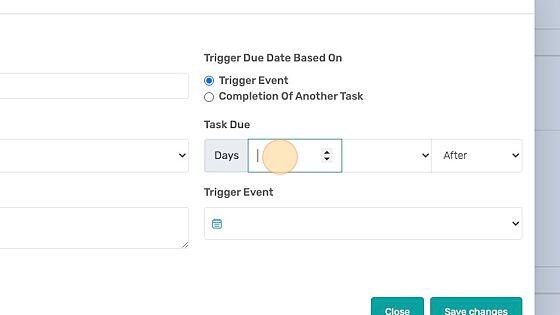
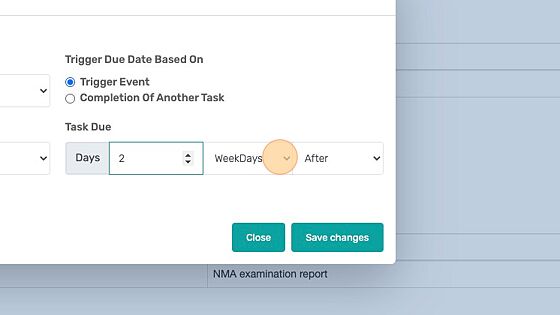
11. Enter the number of days you’d like the task to be scheduled away from the start or end date. . Note: If you would like the task to be due on the actual start or end date itself, put 0 into this field. Specify whether the task due date should be “X amount of days” before or after the related date.
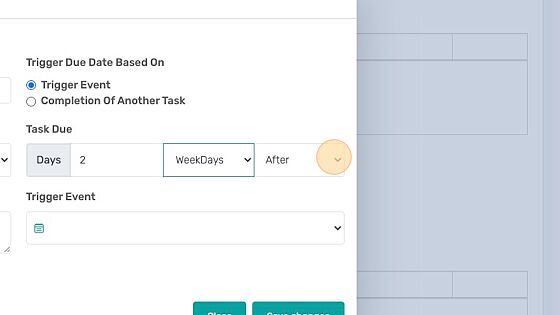
12. Select either Weekdays or Calendar Days. Weekdays will only count Monday through Friday, ensuring that the task due date will only fall on a weekday. Choosing Calendar Days will count everyday in the week, so there is a possibility that the task due date will be on a weekend
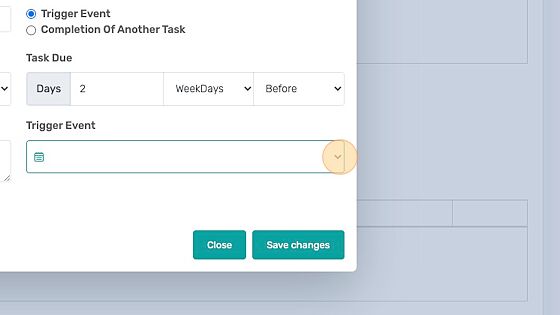
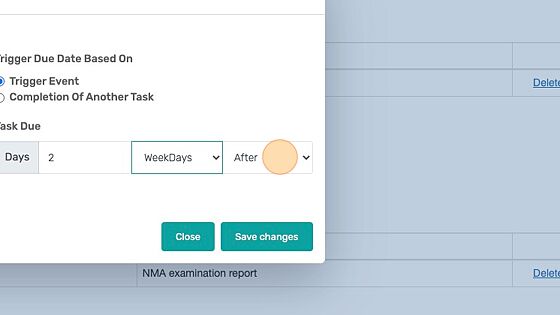
13. Specify whether the task due date should be “X amount of days” before or after the related date.
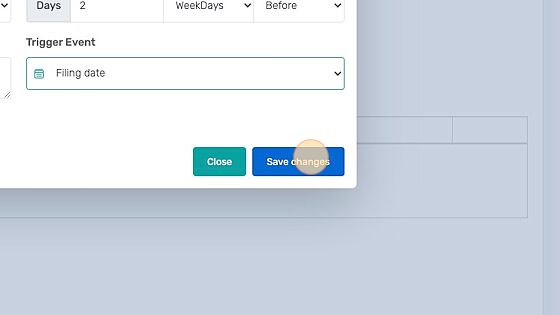
14. You can choose which date you’d like to base the trigger off of from the drop down list. These dates will be labeled with whatever names you specified when creating the workflow.
15. Click “Save changes”
Adding Calendar Events to the Workflow Template
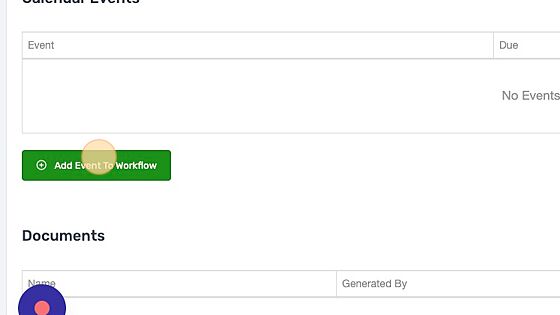
16. Click “Add Event To Workflow”
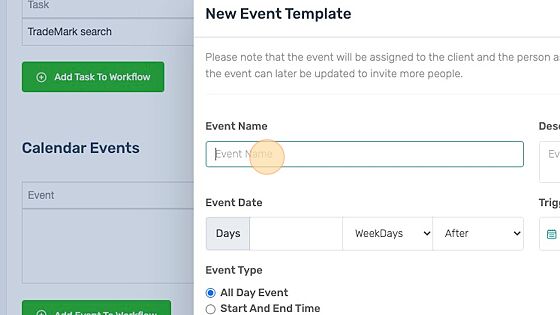
17. Enter the “Event Name”.
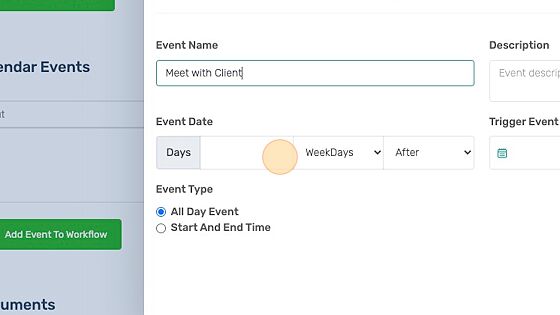
18. Enter the number of days the event should be. When calculating your calendar event, you can choose to go off of Weekdays or Calendar Days. Weekdays will only count days Monday through Friday (work week). Calendar days will count all seven days of the week.
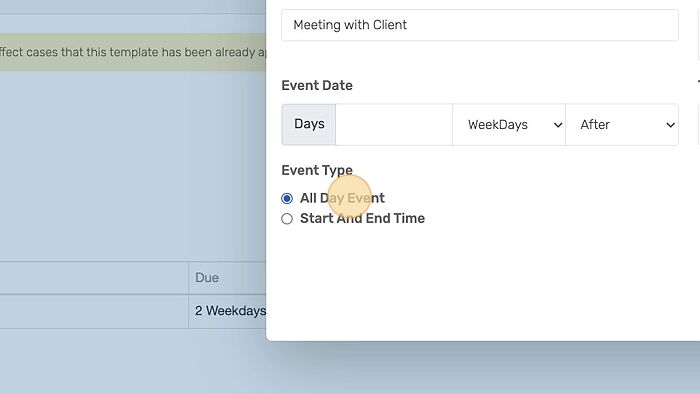
19. Select whether the event should be scheduled as an All Day event or an event that has a start and end time. If you choose Start and End Time, you will be able to setup the start time and duration in the next steps.
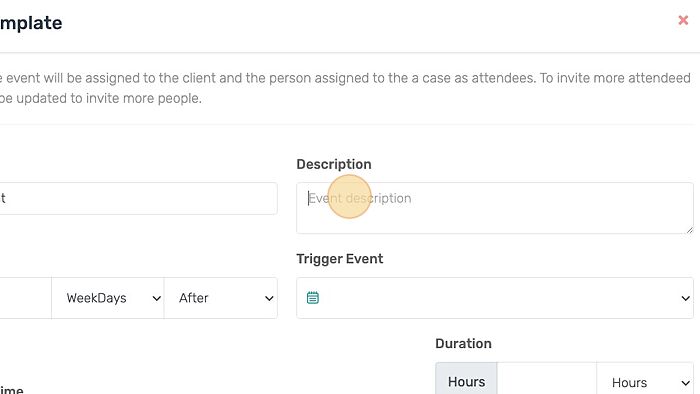
20. Enter the “Event description”.
21. If you’ve specified the event as All Day, you can choose how many days you’d like the event to last. If you’ve specified the event as having a start and end time, you can choose the duration in either minutes, hours, or days.
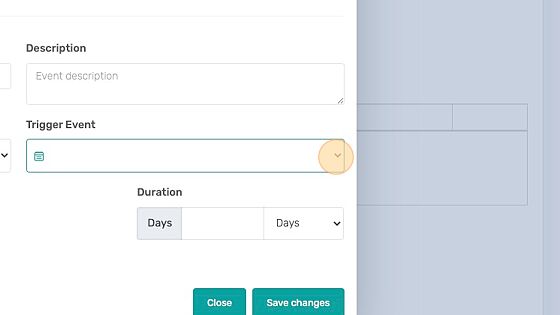
Click this dropdown.

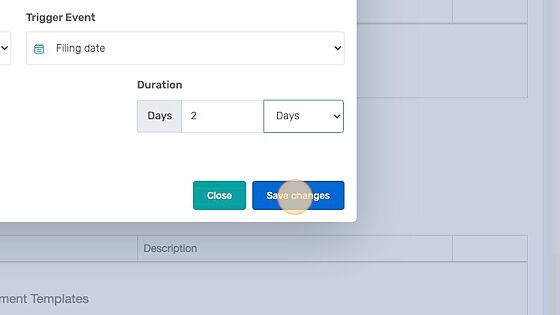
22. Select which Trigger event (date) you’d like to base the calculation off of. These dates will be labeled with whatever names you specified when creating the workflow.
23. Click “Save changes”
Adding Document Templates to the Workflow Template
Tip! You have the ability to automatically create a document from a template stored in Billetterie using our case Document Template feature based on the completion of a Task.
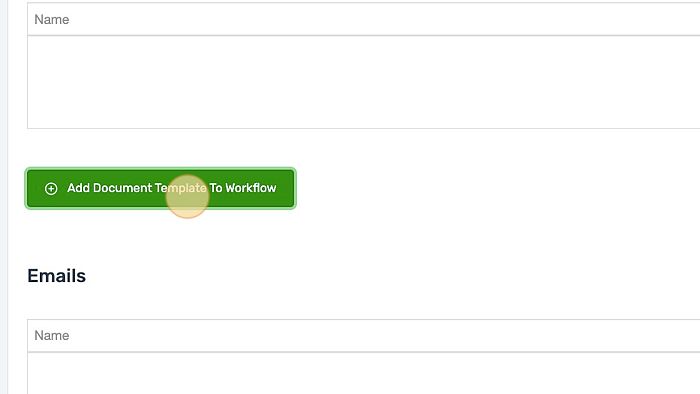
24. Click “Add Document Template To Workflow”
25. Select the template that you would like to have a document create from automatically.

26. Select the task (already created above) that you would like your new document to be automatically created based on its completion.
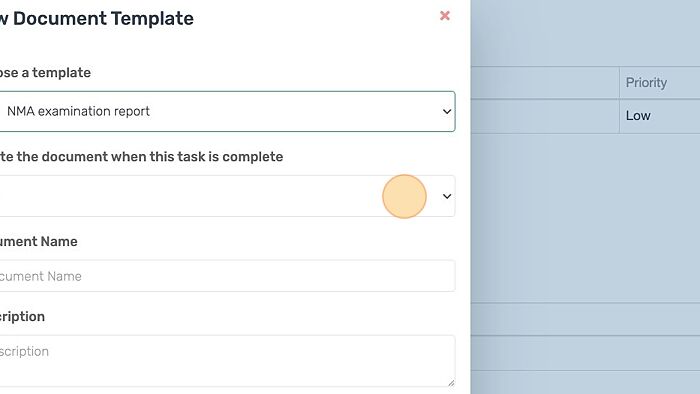
27. Enter the “Document Name” that you would like the newly created document to have. This can always be adjusted on the case level, so it’s best to keep this generic when creating your Workflow template.

28. Enter the description of the document that will be created. This description will be viewable by any person whom the document is shared with.

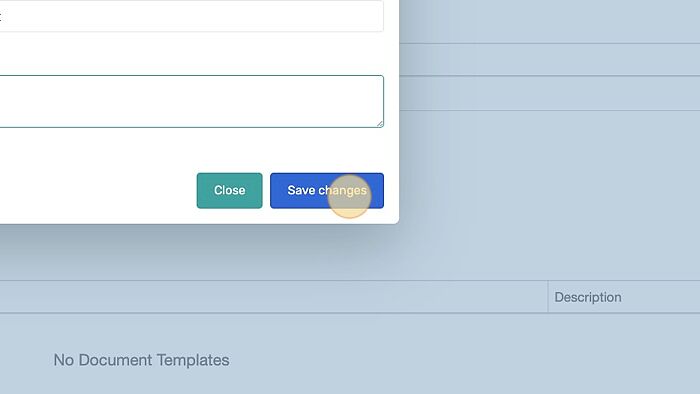
29. Click “Save changes”
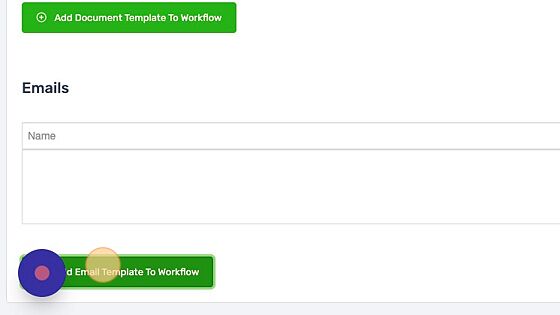
Adding Email Templates to the Workflow Template
30. Click “Add Email Template To Workflow”
31. Select the name of the email template you would like to use for the workflow.
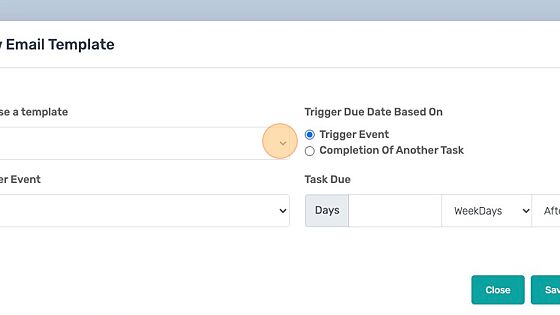
32. Select the trigger event(date) that should trigger the email template.
33. Select which Trigger event (date) you’d like to base the calculation off of. These dates will be labeled with whatever names you specified when creating the workflow.
34. Enter the number of days you’d like the task to be scheduled away from the start or end date. . Note: If you would like the task to be due on the actual start or end date itself, put 0 into this field. Specify whether the task due date should be “X amount of days” before or after the related date.

35. Select either Weekdays or Calendar Days. Weekdays will only count Monday through Friday, ensuring that the task due date will only fall on a weekday. Choosing Calendar Days will count everyday in the week, so there is a possibility that the task due date will be on a weekend.
36. Specify whether the task due date should be “X amount of days” before or after the related date.
37. Click “Save changes”