How Can We Help?
How to Create Service Level Agreements
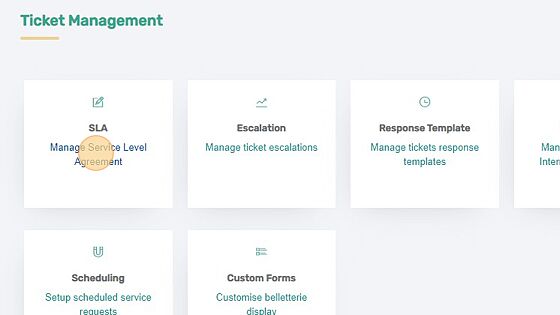
1. Click the settings icon
2. Click SLA
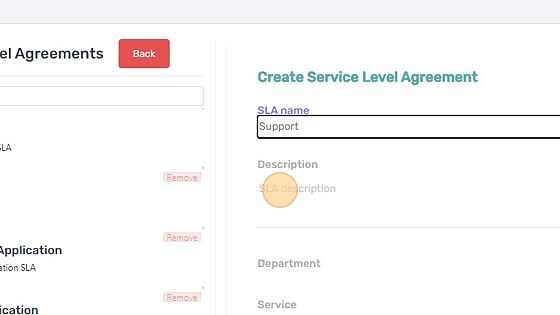
3. Enter SLA name
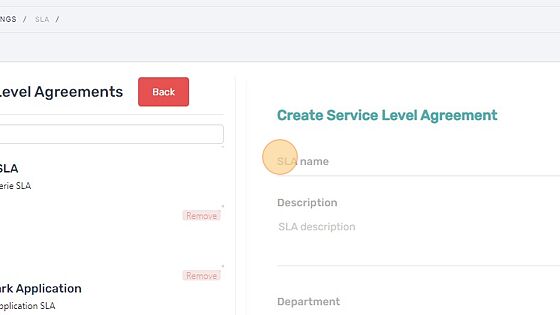
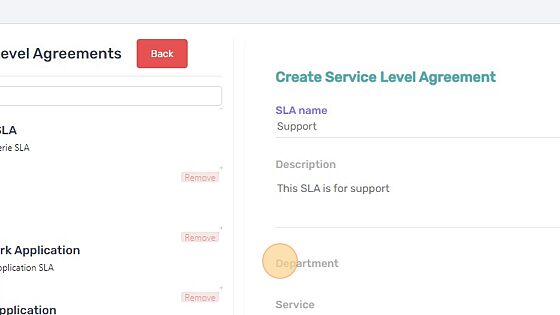
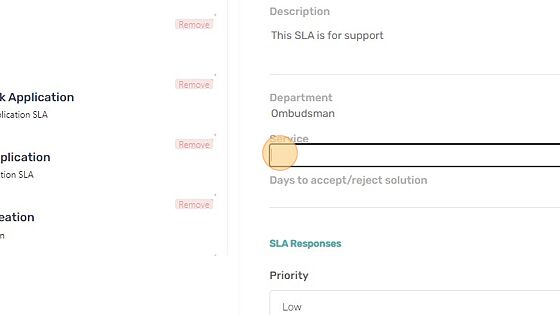
4. Enter SLA description
5. Click “Department”
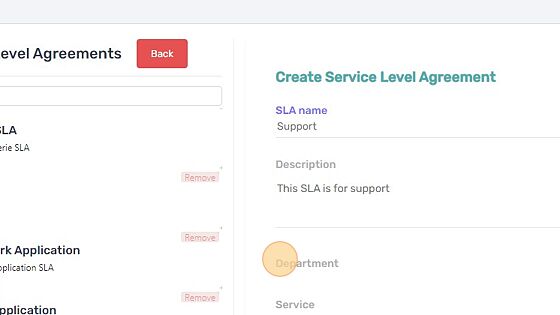
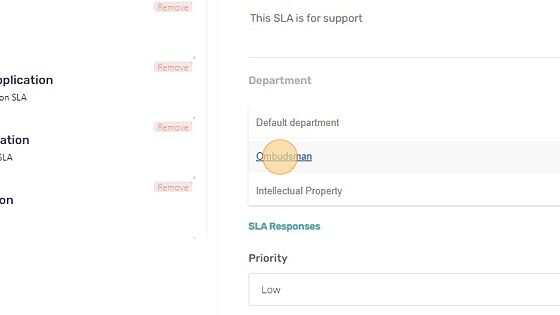
6. Click “Department”
7. Select department to assign the SLA too
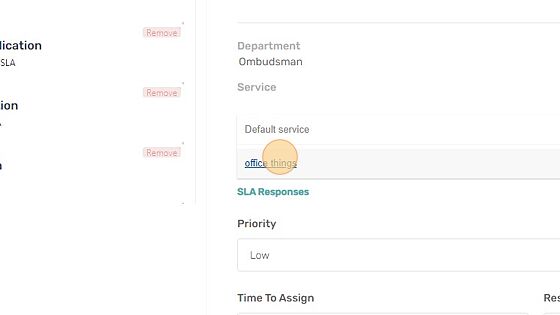
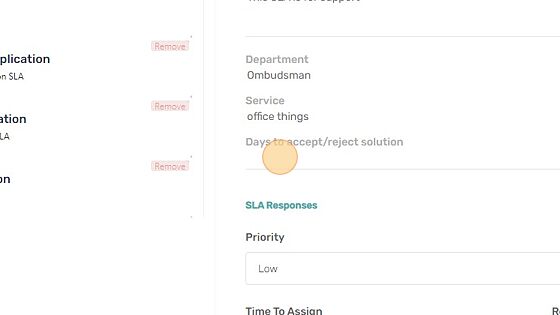
8. Select service.
9. Select the service that SLA will be assigned too
10. Enter the amount of days to either reject or accept the solution
11. Enter the priority level
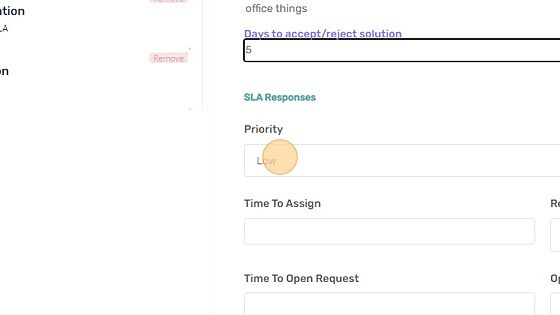
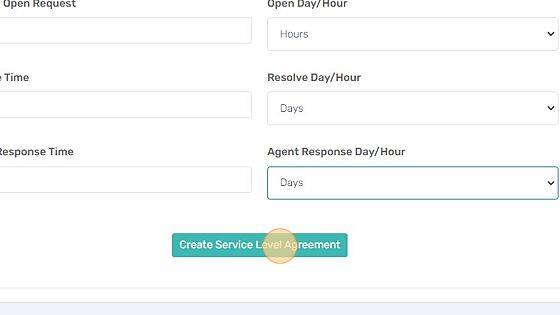
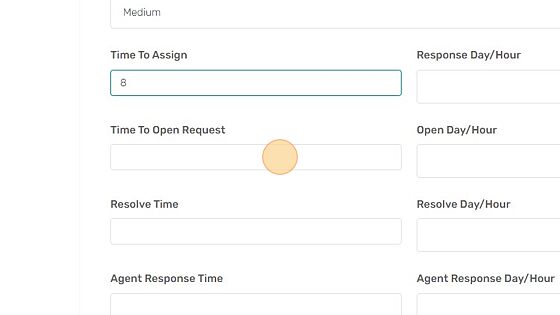
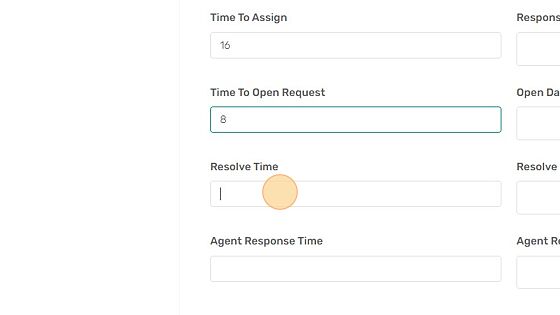
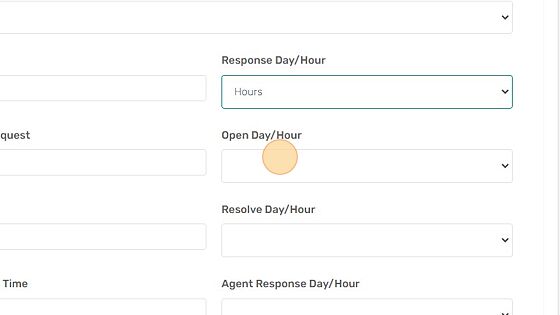
12. Enter the time it should take to assign the ticket to an agent
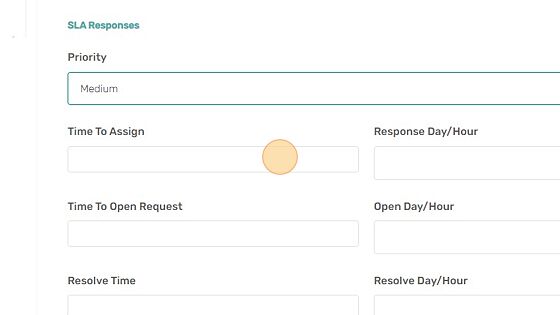
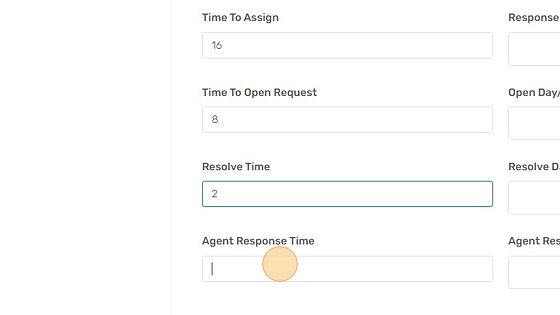
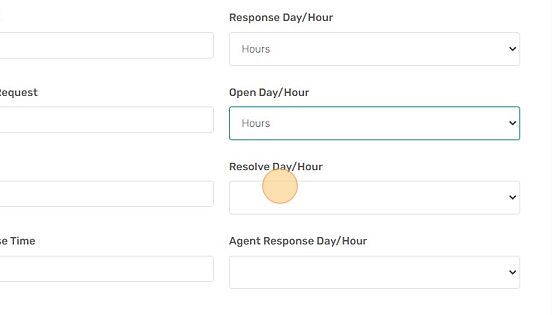
13. Enter the time it should take to open the SLA request
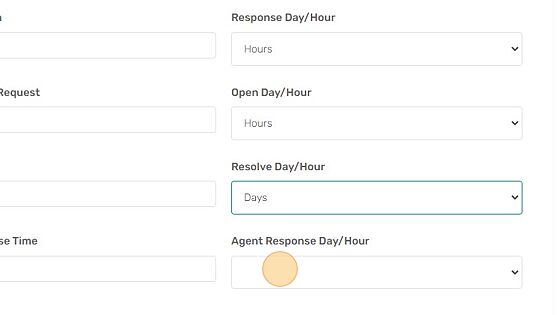
14. Enter the time it should take to resolve the SLA
15. Enter the time it should take the agent to respond the SLA
16. Enter agent response time in days or hours

17. Enter agent time to open request in days or hours
18. Enter agent resolve time in days or hours
19. Enter agent response time in days or hours
20. Click “Create Service Level Agreement” to complete the process