How Can We Help?
How to Create a Business Calendar
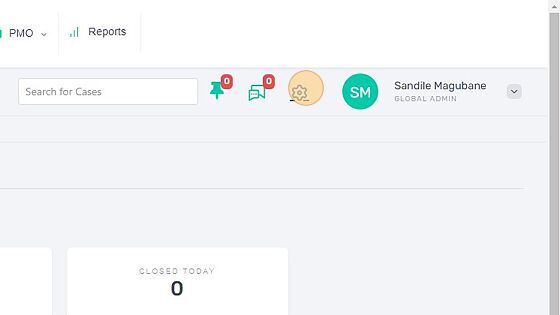
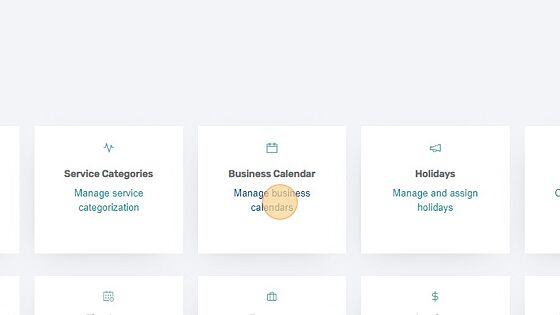
1. Click the settings icon
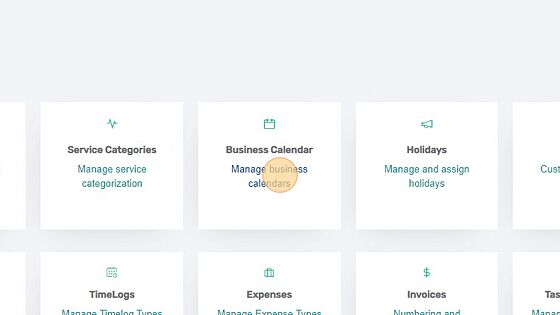
2. Click Business Calendar
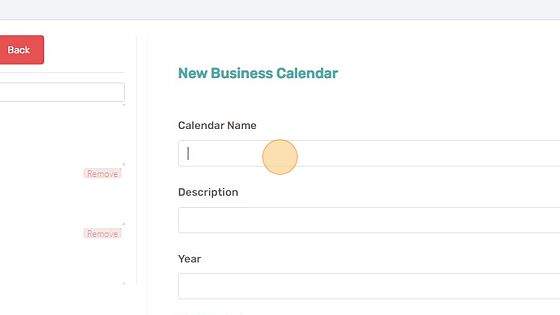
3. Enter the calendar name
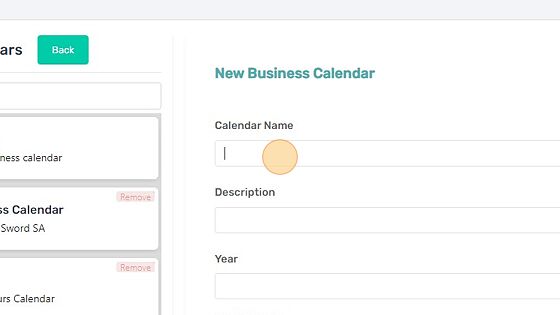
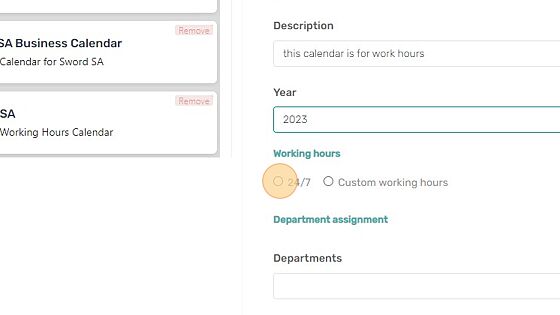
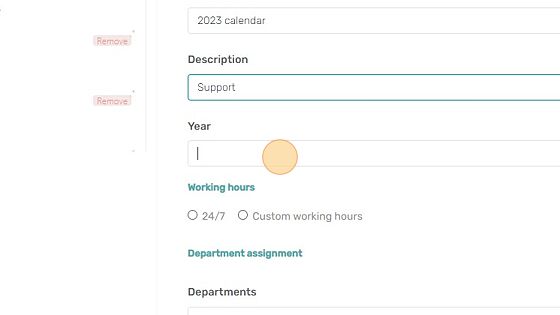
4. Enter the calendar description
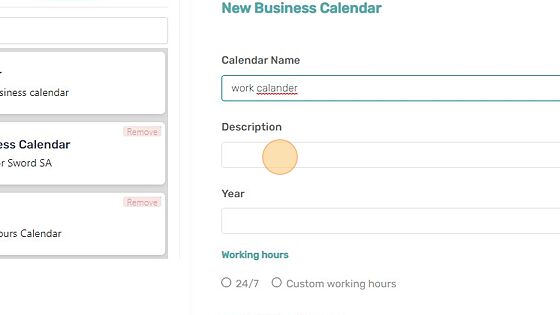
5. Enter the calendar year

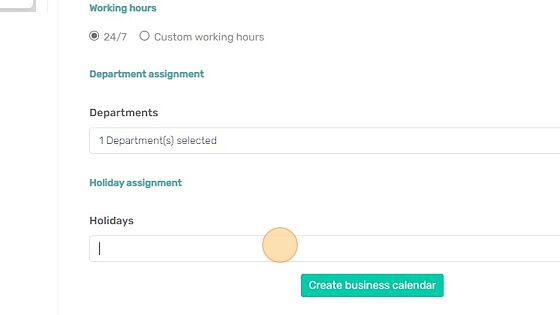
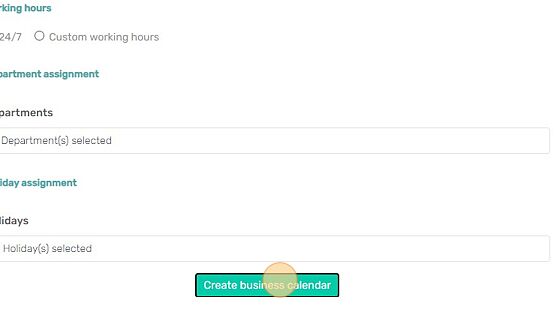
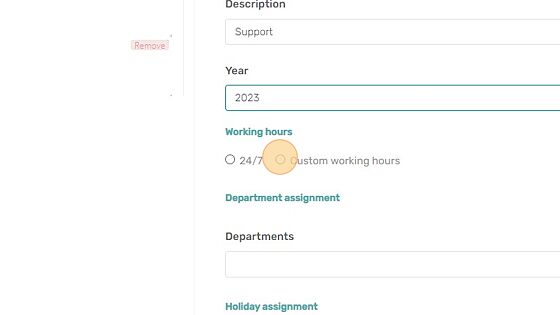
6. Select the hours your company operates
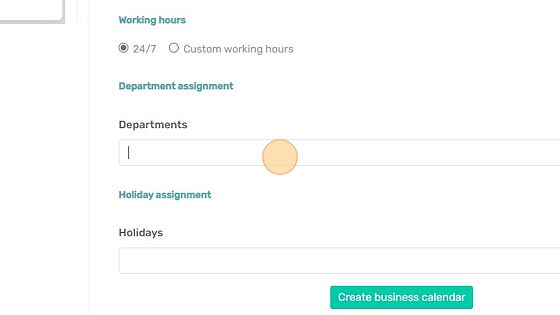
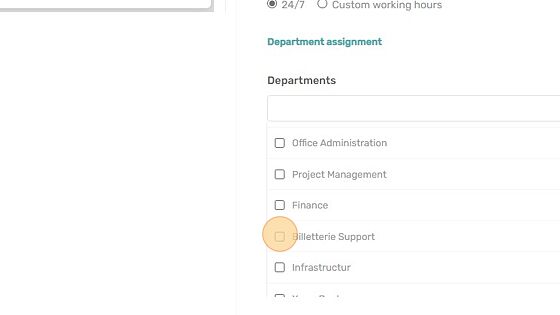
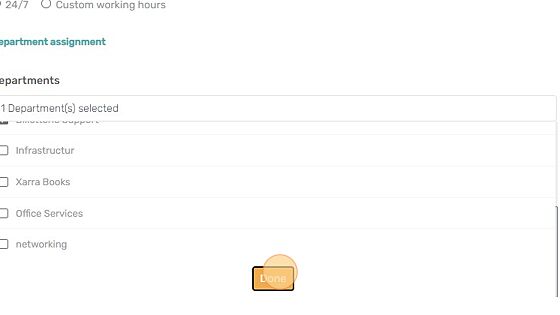
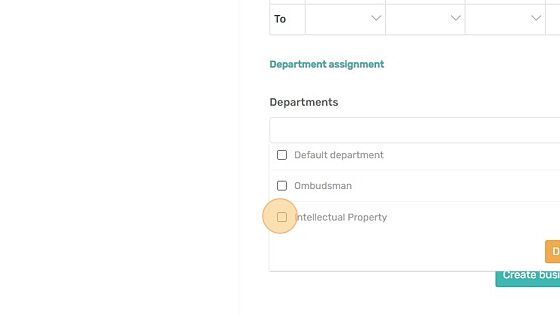
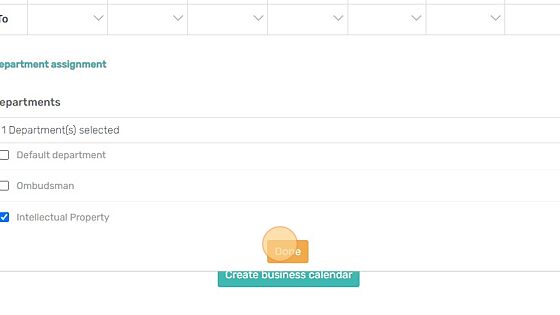
7. Select departments to view drop down menu
8. Assign a department to a business calendar
9. Click “Done”
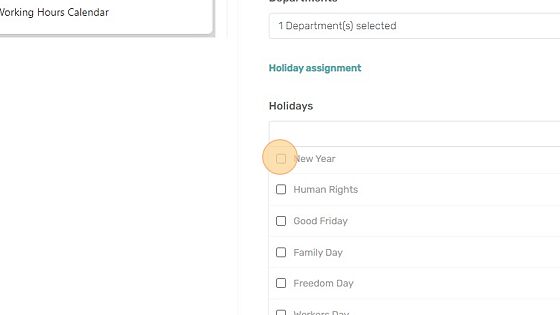
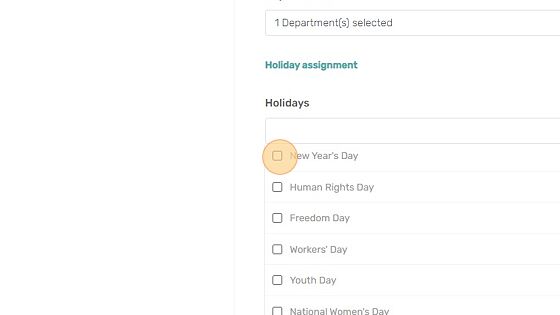
10. Click and edit the holidays text field
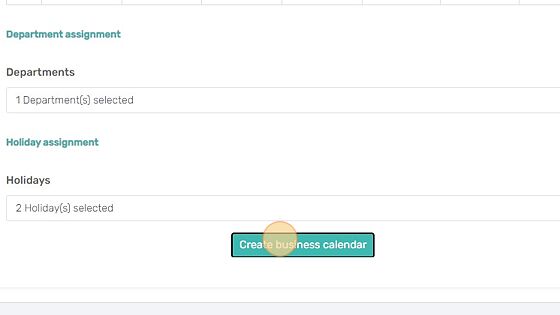
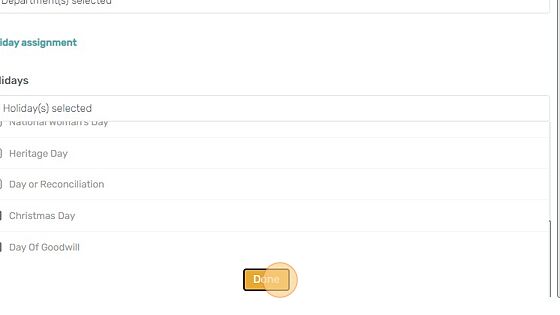
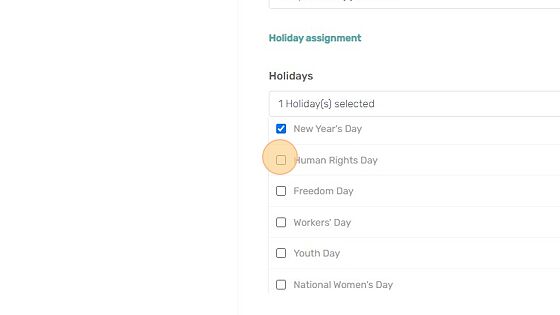
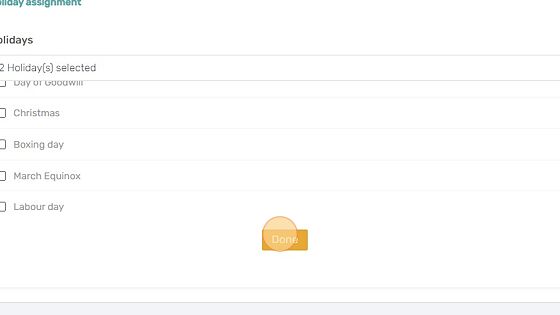
11. Select the holiday you want to assign to the business calendar
12. Click “Done” when you have selected the holidays you want
13. Click “Create business calendar” to complete the process
How to create custom working hours
1. Click the settings icon

2. Click Business Calendar
3. Enter Calendar name
4. Enter calendar description

5. Enter calendar year
6. Select Custom working hours
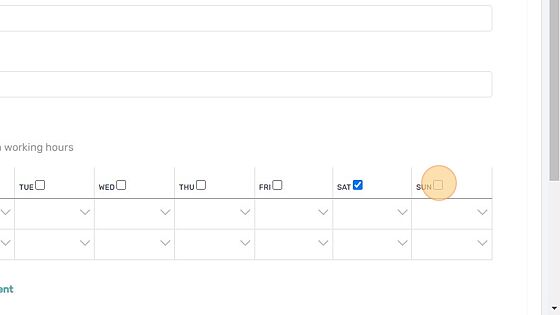
7. Select the business operation days
8. Select Business working hours
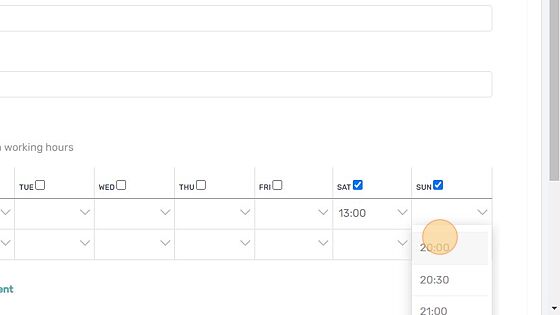
9. Select the hours you want your company to operate
10. Click “Done”
11. Click this checkbox to select the holiday you want your business will recognise
12. Click this checkbox.
13. Click “Done”
14. Click “Create business calendar”